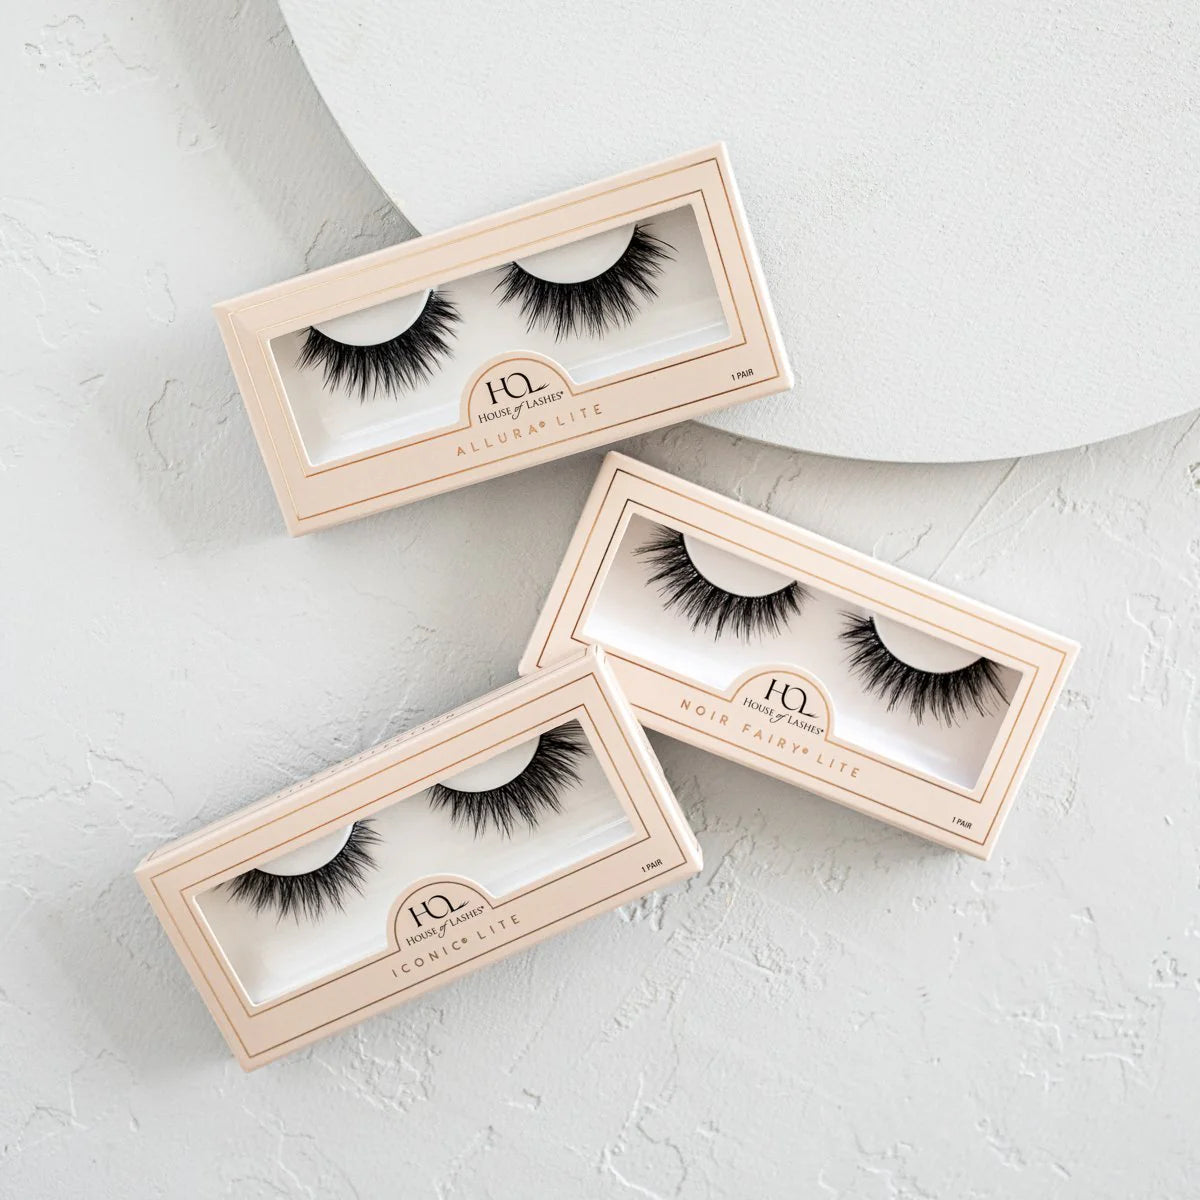
"Elevate Your Look, One Lash at a Time."
Elevate your natural beauty by exploring our exclusive collection of lash designs
"Thin, flexible band for comfort and easy application, with realistic lengths, natural curl, and lightweight materials that mimic natural lashes."
Best seller
Join the trend of luxurious Russian lashes that are loved by makeup enthusiasts worldwide. Experience the difference in quality and style.
-
SEMI-VOLUME LASHES RUS - 10
Regular price $9.99 USDRegular price -
 Sold out
 -
 Sold out
Shop Our Luxuries Catagories Products
New arrivals
-
Example product title
Regular price $19.99 USDRegular price -
Example product title
Regular price $19.99 USDRegular price -
Example product title
Regular price $19.99 USDRegular price -
Example product title
Regular price $19.99 USDRegular price -
Example product title
Regular price $19.99 USDRegular price
You're set up for success if you do the following:
-
Our Lashes ARE EASY TO APPLY
Read nowHere's a more detailed guide:
1. Prepare Your Natural Lashes:
- Cleanse your eyelids: Ensure your eyelids are free of makeup, oil, and debris.
- Curl your natural lashes (optional): If desired, use an eyelash curler to create a natural curl.
-
More steps to better secure your strips lashes
Read now2. Trim and Shape the Strip Lash (if needed):
- Measure: Hold the strip lash against your eye to see if it's too long. If it is, trim it from the outer corner, as lashes are often tapered towards the inner corner.
- Bend: Gently bend the strip lash to match the natural curve of your eye.
-
you are almost there!
Read now3. Apply the Glue:
- Choose your glue: Select a lash glue that's suitable for strip lashes.
- Apply the glue: Apply a thin, even line of glue along the lash band, being sure to cover the ends well.
- Allow it to dry: Wait for the glue to become tacky (not wet, not dry) for about 30 seconds.
-
Final step
Read now4. Adhere the Strip Lash:
Position the lash:Look down in a mirror and position the strip lash as close to your natural lash line as possible, making sure it's touching your eyelid, not your lashes.
Gently press:Use your fingers or tweezers to gently press the lash band onto your eyelid, starting from the outer corner and working your way inward.


